After DivyWeb staff performs a Google Apps for Business setup, there are two steps you need to do.
- Setup Billing with Google
- Add additional accounts (if needed)
Logging in to your Google Apps Account
First, if you already have a gmail account, please logout of it.
- Go to gmail.com
- Click the round circle icon in the top right
- Click the Sign out button
Next, login to your new Google Apps for Business account.
- Visit http://admin.google.com
- Sign in with the new email address & password DivyWeb provided in the account setup email
The Admin Console is for managing the account. For regular email usage, please visit gmail.com directly.
The Google Apps Admin Console
The account admin dashboard navigates and behaves like a standard web application.

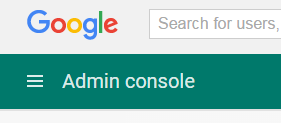
If at any point you wish to return to the admin home screen, click the Google logo at the top left of the screen.
The 3 line icon next to the words “Admin console” is called the hamburger menu. The hamburger menu is a quick way to navigate to the various sections of the admin console.
Google Apps Billing Setup
Billing for Google Apps is performed by Google. It is separate from your DivyWeb LLC accounts.
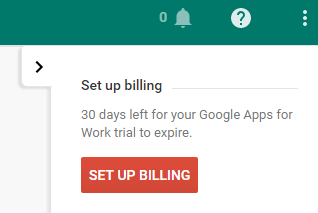
Click the red Setup Billing icon on the right sidebar:

You will have the choice of the standard Google Apps plan or the unlimited plan.
Please select the option that best suits your business needs.
A shopping cart process will walk you through the billing signup. Answer the questions and click Continue until you complete the steps.
Adding Google Apps Users
Each person with an email address on your domain will need a Google Apps user account. The accounts are managed in the Users section.
DivyWeb creates the first email address for you. If that is the only account you need, your gmail is ready and you may skip to the Using Your Account section of this document.
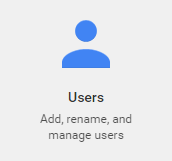
From the Google Apps Admin console, click the Users icon.

New users are created by clicking the Plus icon in the lower right of the screen.

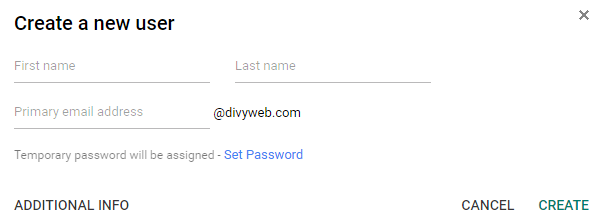
A popup window will prompt you for the User’s first, last and username.

You have the option of manually setting a password for the user by clicking “Set Password”. If you do not manually set a password, Google will assign a randomly generated password to the account.
Click the CREATE link when you are done.
Repeat the account creation steps as necessary until all of your people have accounts.
Using your Google Apps account
Your Google Apps for Business account works exactly like a personal gmail account. The difference is that your company branding is used on outgoing emails. This is more professional than having an @gmail.com email address. You also have more control over the privacy of Calendars and Docs.
To use the account, visit gmail.com.
Sign in with your new company email address (username@yourcompanyname.com) and password.
Gmail is the default app. To switch to other Google Apps such as Calendar or Drive, click the square grid icon in the top right of the screen.
![]()
A drop down menu will appear that will allow you to switch apps. The app switching icon will appear across all of the various Google apps.
Mail Clients & Mobile Devices
If you would like to configure your account with mobile devices or 3rd party email clients like Outlook, use the Add Account function on your device, select Gmail as your account type and sign in with your Google Apps for Business email address and password.
iPhone and iPad users can use the gmail app as an option but the recommended process is to create a new outlook style account. This is fully documented in Google’s support pages:
https://support.google.com/a/users/answer/138740?hl=en
Android users setup G Suite accounts as regular Gmail accounts. Google has a support page for Android users here:
https://support.google.com/a/users/answer/1738362?hl=en
